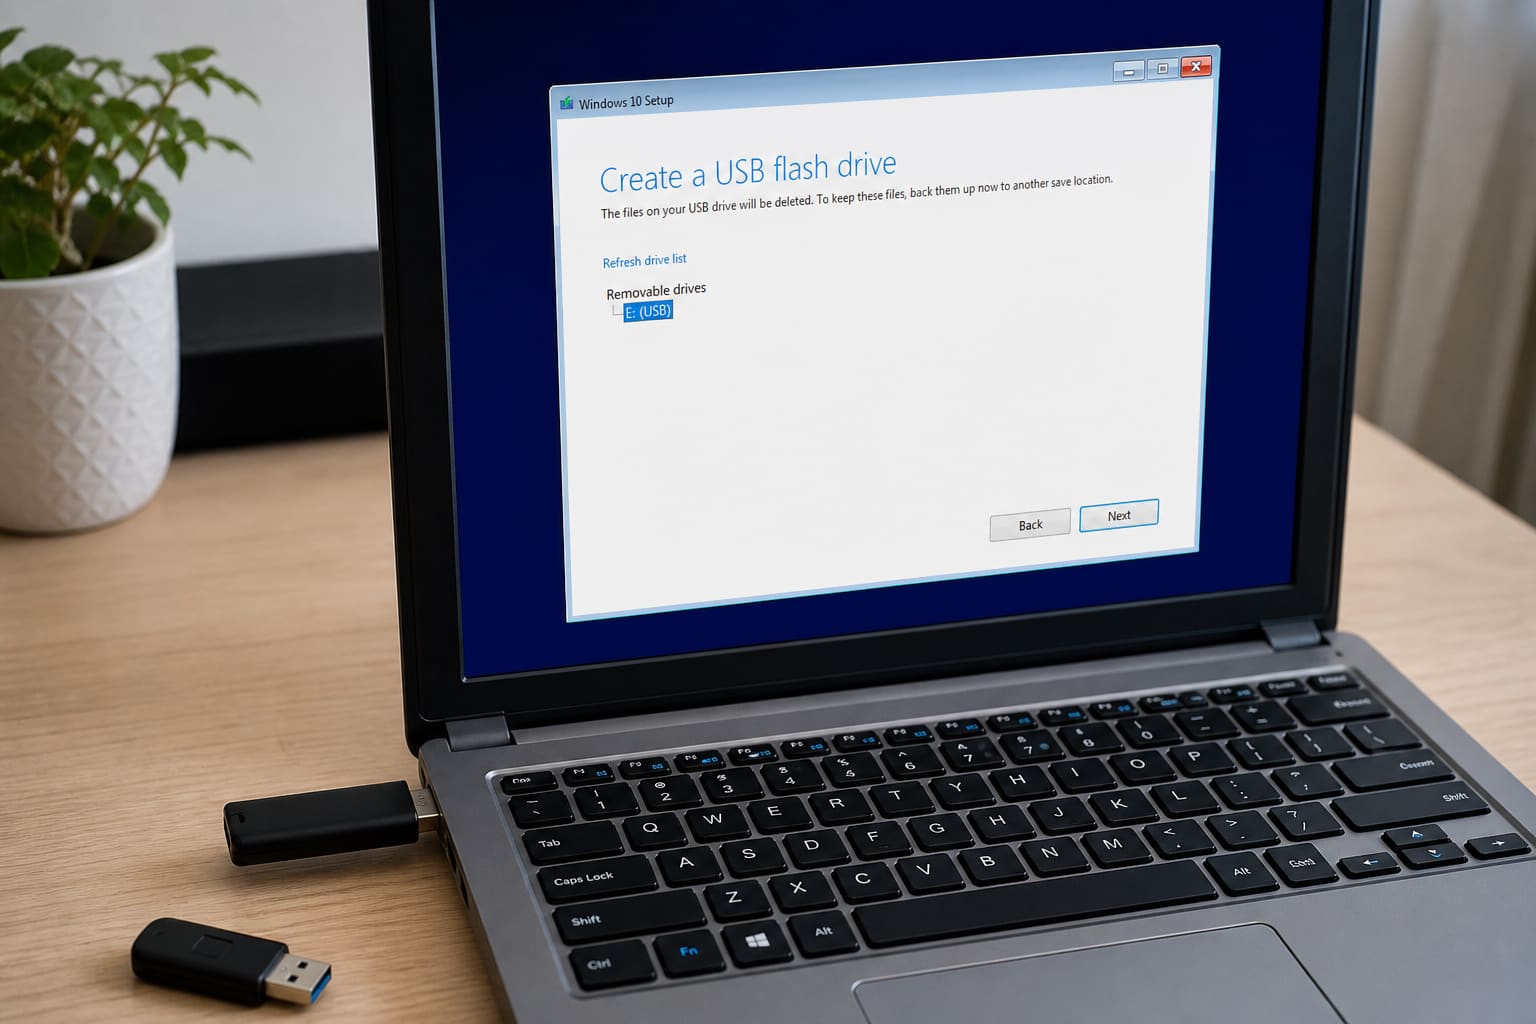
A bootable Windows USB is the standard way to reinstall Windows, upgrade, or rescue a PC that won’t boot.
Use Microsoft’s official tool — avoid random “Windows ISO” Telegram links.
What You Need
- A working PC with internet
- USB drive 8GB+ (everything on it will be erased)
- Windows license if required for activation later
- Microsoft Media Creation Tool (Windows 10/11)
Steps (Media Creation Tool)
- Download Media Creation Tool from Microsoft’s official Windows download page
- Run it → accept terms
- Choose Create installation media
- Select language / Windows edition / architecture (usually 64-bit)
- Choose USB flash drive
- Pick your USB → wait for download + write
When it finishes, safely eject the USB.
Boot From the USB
- Insert USB into the target PC
- Restart and open Boot Menu (often F12, Esc, F10 — laptop sticker / manual)
- Select the USB drive
- Follow Windows Setup
Important: Installing Windows can wipe drives if you choose the wrong disk. Back up first.
Create Windows USB — FAQ
Is this free?
The installer is free. Activation still needs a genuine license key / digital license.
Can I use Rufus instead?
Yes — advanced users often use Rufus with an official ISO. Beginners should stick to Media Creation Tool.
Will this fix a virus-infected PC?
A clean install can remove most malware — but back up only clean personal files, not random EXEs.
Sources / Verify With
- Microsoft Windows download / Media Creation Tool page
- Your PC maker’s BIOS/UEFI boot guide
Original Sen Gideons News Studio editorial. UEFI vs Legacy BIOS settings vary by machine.