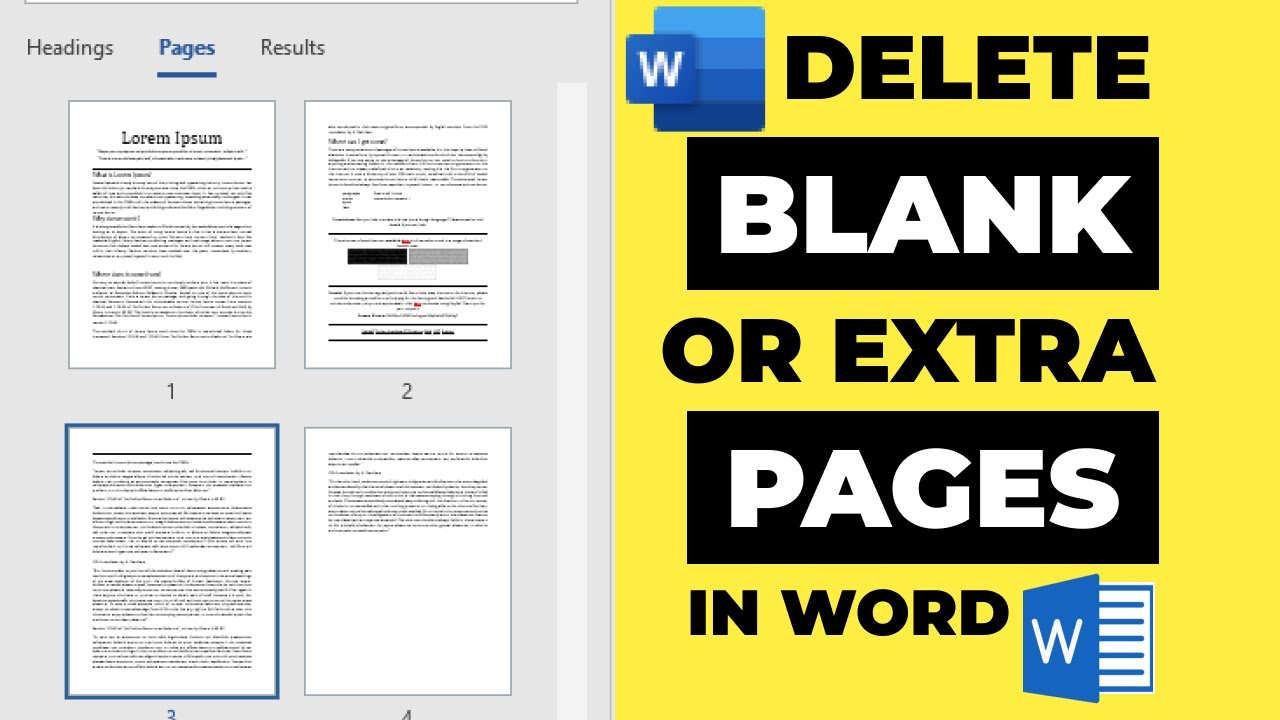

Struggling with Extra Pages in Your Microsoft Word Doc? Here’s to Delete Them Quickly!
Microsoft Word, a global leader in word processing, empowers users with a vast toolkit for creating stunning documents. But sometimes, unwanted pages sneak in, cluttering your work with their presence. Need to remove an unwanted blank page towards the end of a lengthy report or maybe just eliminate a pesky extra sheet that’s causing confusion? This guide is just what you need! We’ll walk you through the process of deleting pages in Microsoft Word, no matter your skill level.
Step 1: Open Your Document
Begin by starting up Microsoft Word and loading up the document that has the page you want to say goodbye to. Head over to the “File” tab in the top-left corner and hit “Open” to hunt for the document on your computer. Or simply give that document file a double-click from where it’s saved to open it right up in Word.
Step 2: Navigate to the Page
Once your document is open, make your way to the particular page that deserves deletion. You can scroll through the document or utilize Word’s navigation tools, like the scroll bar on the right side of the navigation pane.
Step 3: Select the Content
To obliterate a specific page, you have to grab all the content on it. Plop your cursor at the start of the content you’re targeting, then click and drag it until everything on the page is lit up. If that’s too much work, just press “Ctrl + A” on your keyboard to select all the stuff in the doc instantly.
Step 4: Delete the Content
Once you’ve got your content lined up, smack that “Delete” key on your keyboard. Watch as the selected content vanishes into thin air, taking any text, images, or other elements with it.
Step 5: Check for Blank Spaces
After you’ve cleared out the excess, it’s crucial to scan for any lingering blank spaces or unused paragraphs. Sometimes, Word decides to leave behind empty lines or paragraphs, leading to an incomplete deletion situation.
To get rid of these blank spaces, position your cursor at the end of the final visible content on the page and mash that “Delete” key repeatedly until your cursor moves to the next spot. Keep at it until there are no more leftover gaps on the page.
Step 6: Use the Backspace Key (Alternative Method)
If you’re not in the mood to manually delete the content, there’s another way to go about it. Drop your cursor at the beginning of the page you want to bid farewell to, then hit the “Backspace” key over and over until that page takes a hike.
Step 7: Adjust Page Layout (Optional)
Once the unwanted page is history, you might need to tweak the page layout for optimal flow. Check for any wonky formatting or inconsistencies that may have arisen post-deletion, like messed-up headers, displaced images, or wonky margins.
To fine-tune the page layout, flutter over to the “Layout” tab in the Word toolbar and juggle the formatting options available. Tinker with margins, page orientation, or page size to create a layout that speaks to your unique style.
Step 8: Save Your Document
After unleashing your deletion powers and polishing up the layout, don’t forget to save those changes. Click on the “File” tab in the top-left corner and hit “Save” or “Save As” to preserve this updated version in your desired spot on the computer.
In conclusion: Saying sayonara to a page in Microsoft Word is a walk in the park with these simple steps. Whether you’re ditching a stray blank page or slicing out a specific section in a lengthy document, mastering the art of page deletion can transform your editing game and deliver a polished final product. Follow our step-by-step guide above and wave goodbye to unwanted pages in Word with confidence!