Watch the full tutorial:
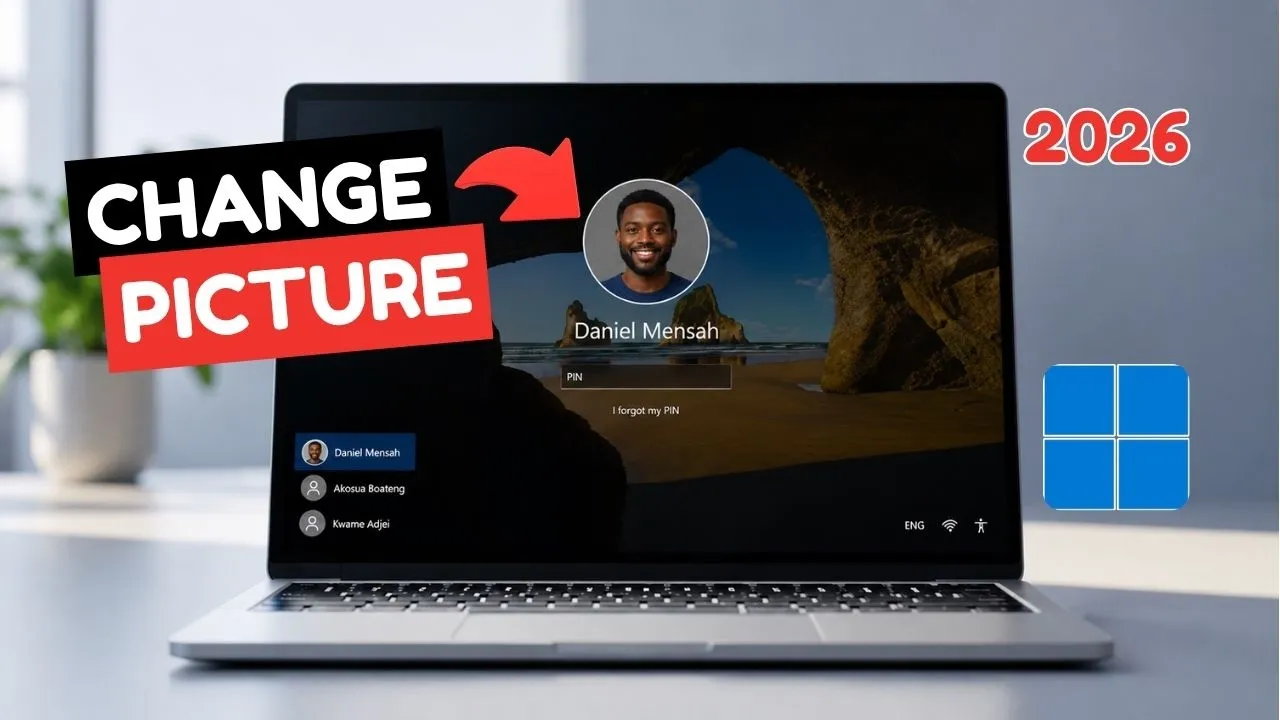
The picture on your Windows sign-in screen and Start menu is the account photo. A clear headshot makes a shared PC easier to tell apart, and it is the step that follows renaming the account.
If the name on the account is still wrong, change that first with the guide on how to change a Windows account name. Then come back and set the photo.
Change the photo in Windows 11 and Windows 10
- Open the Start menu and search for Your info.
- Open Your info under account settings. You can also go to Settings > Accounts > Your info.
- Under the current picture, choose one of these:
- Browse files (Windows 11) or Browse for one (Windows 10) to upload a photo already on the PC.
- Take a photo or Camera if you want to use the webcam now.
- If Windows asks you to crop, drag the square so your face sits in the frame, then save.
The new picture shows on the Start menu, the sign-in screen, and the account page. Some desktop icons and older apps keep the previous image until you sign out and sign back in.
Photo tips that actually matter
- Use a square image. A wide photo gets cropped hard in the circle Windows draws.
- A simple background and even light read better at the tiny size of the Start menu.
- JPG and PNG both work. A huge camera original is fine. Windows scales it.
If you cannot change it
- A Microsoft account photo is sometimes managed at account.microsoft.com. Update it there, then sign out of Windows and back in so the PC picks it up.
- A school or work account can block picture changes. The Settings page will say the organization manages the account.
- On a local account, Your info on the PC is the only place you need.
Sign out once after you save. That is the reliable way to see the new picture on the lock screen.
Disclaimer
Sengideons.com does not host any files on its servers. All point to content hosted on third-party websites. Sengideons.com does not accept responsibility for content hosted on third-party websites and does not have any involvement in the same.