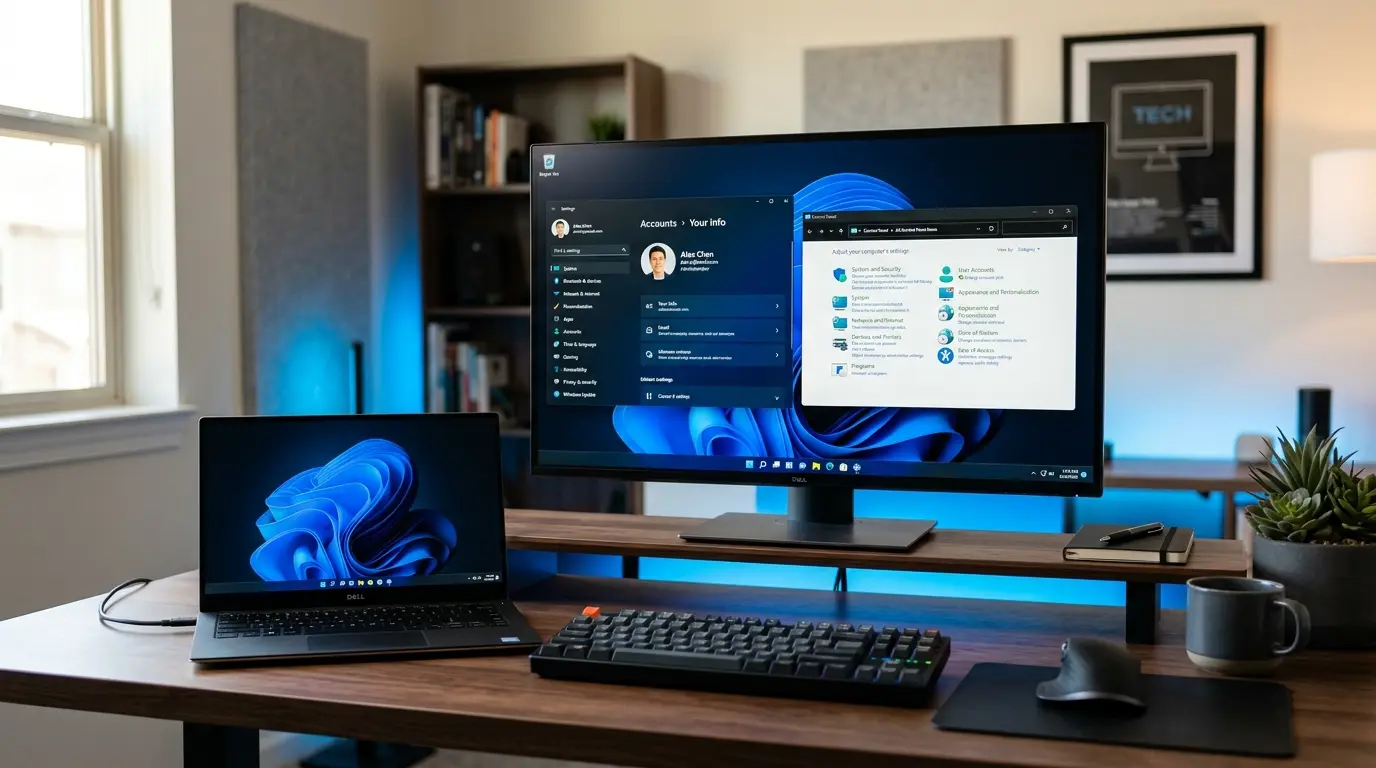
Whether you inherited a PC, made a typo when setting up your computer, or simply want to personalize your device, updating your account name in Windows 11 or Windows 10 is quick and easy.
In this guide, you will learn how to change your local user profile name using the Windows Control Panel and verify the changes across your system
Step-by-Step Guide: Changing Your Windows Profile Name
Step 1: Open the Control Panel
- Click on the Windows Search bar (or press
Win + S). - Type Control Panel into the search box.
- Click on the Control Panel app to open it.
Step 2: Navigate to User Accounts
- In the Control Panel window, look for the User Accounts category.
- Click on Change account type directly under the User Accounts heading.
Step 3: Select Your User Profile
- You will see a list displaying all user accounts configured on your PC.
- Click on the specific profile name you wish to modify (e.g., “PC”).
Step 4: Enter the New Account Name
- On the user management screen, select Change the account name.
- Type your desired new profile name into the text field.
- Click the Change Name button to confirm.
Pro Tip: Apply Changes Across the System
Once you click Change Name, the updated profile name will immediately reflect inside the Control Panel menu. However, to ensure the new name displays on your Windows lock screen, Start menu, and system settings, perform either of the following steps:
- Option A (Recommended): Sign Out and Sign Back In Save your open work, log out of your Windows session, and log back in. Your new profile name will now appear on the sign-in screen.
- Option B: Verify in System Settings Open your Windows Search bar and search for Your info or Your account info. Opening this settings page verifies that the system has recognized your updated profile name
Key Takeaways & Related Tutorials
- Updating your user account name changes your display name on the login screen and Control Panel.
- Full system propagation takes effect immediately after a quick sign-out and sign-in cycle
Disclaimer
Sengideons.com does not host any files on its servers. All point to content hosted on third-party websites. Sengideons.com does not accept responsibility for content hosted on third-party websites and does not have any involvement in the same.